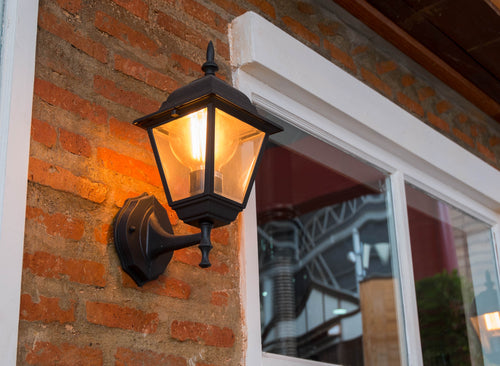
A Guide to Attaching Outdoor Lights to a Brick Wall
When it comes to outdoor wall lights, these can be attached to various surfaces, including wooden fences, porches, and brick walls.
Brick walls may appear challenging to fix your light fixture onto, but our blog will guide you through each step, helping you set up your new lights in no time!
From selecting a fixture that will complement your home’s exterior to navigating the intricacies of drilling into brick, Light Supplier has got you covered. Browse our outdoor lighting whilst you’re here for some inspiration.
Necessary Tools and Materials
Before we begin, you will need to gather the following equipment:
Tools
- Wire strippers and wire cutters
- Chisel and hammer
- Screwdriver set
- Drill
- Bit for drilling masonry
- Level
- Pencil
Materials
- Outdoor light fixture
- Masonry anchors
- Mounting screws and wall anchors
- Wire nuts (or connectors)
- Electrical tape
- Silicone caulk (optional)
PPE: Wear safety glasses and gloves to protect yourself from sharp tools and debris.
A Step-by-Step Guide to Installing Light Fixtures onto Brick
1. Plan and Prepare
Turn off the power before starting. Then, select a spot where you want to place the fixture. Place it somewhere that requires direct lighting, such as above a security camera or over a garage.
Use a pencil to mark the drilling points on the wall so that they align with the mounting brackets.
2. Drill into the Brick
Use a drill with a masonry drill bit to drill deep enough holes into the brick for the screws. Set the drill to the hammer function for a more secure fit and go at a steady pace.
Use a brush to remove any debris from the holes.
3. Insert the Wall Anchors
Insert your wall anchors into the holes by aligning them and tapping them in place with a hammer.
Ensure that they sit flush with the wall.
4. Mount the Bracket
Position the mounting bracket against the wall, and use a level to ensure it's straight. Keep the bracket in place and mark the bracket holes on the wall with a pen as guidelines for drilling.
Use a drill bit that matches the size of your masonry screws or anchors and drill into the marked areas.
Add any masonry anchors, if required, by inserting them into the holes and tapping them in place with a hammer. Then, place the bracket over the holes.
If there are multiple holes on the bracket, loosely attach screws into the holes and then tighten them onto the wall.
5. Wire the Light Fixture
Ensure the electricity is turned off. Strip 3/4 inch of insulation from the ends of the wires on the light fixture and the house wiring.
Twist the black (hot) wire from the fixture to the black (hot) wire from the house and secure them. Then, connect the white (neutral) wire on the fixture to the white (neutral) wire from the house. Secure all wires with a wire nut and tape.
Lastly, attach the green or bare copper (ground) fixture wire to the green or bare copper (ground) wire from the house. If your home doesn’t have a ground wire, attach the fixture wire to the metal box.
6. Attach and Secure the Fixture
Align your light fixture with the mounting bracket. Insert screws or bolts into the fixture and bracket.
Hand tighten the screws, and then use a screwdriver or drill to secure them tightly into the wall. Gently pull on the fixture to make sure it’s secure.
7. Testing and Final Adjustments
If there are any gaps between the wall and the fixture, apply a bead of silicone caulk around the base of the light. This will prevent moisture ingress to the electrical connections.
If your fixture comes with rubber or foam gaskets, add these for extra water protection. Then, turn on the power and test the light switch to ensure it works.
Browse Outdoor Lights with Light Supplier
At Light Supplier, we house a range of outdoor wall lights for all of your garden needs.
Whether you want to enhance visibility for your garage or add soft lighting to your back garden for summer nights outdoors, we have a fixture for every customer.
With a focus on quality and affordability, browse our LED lighting today or contact us for more information.